


Pen tablets
Sketch, draw and edit images with a responsive pad, a precise pen and see your creations appear on screen.


Learning how to draw a portrait takes time and skill. Breaking it down by facial features, however, allows for greater focus and the chance to practice different aspects before putting everything together. Follow these tutorials and you’ll learn how to draw faces confidently.
Of course, before drawing facial features, you should understand how to draw the head. Drawing a realistic head shape is not easy for beginners. Depending on the angle from which you sketch the head shape, there are different challenges. In this tutorial, we'll show you how to draw a realistic head step by step.

Learning how to draw a nose should be your first task, as it’s the easiest facial feature to recreate using pencil and paper. There are a variety of methods that can be used, depending on whether you’re drawing a face straight on or in profile.
Using a basic grid of three squares across and two squares down, you can ensure the nose remains in proportion, with one nostril in the bottom left hand box and the other in bottom right. In profile, use a larger grid: the nostril should sit across the middle squares towards the bottom to ensure you get the proportions correct.
For a more basic nose, draw a triangle with a diamond shape at the bottom, before sketching in nostrils and adding shade across the top and bottom to make it more detailed. Shading the nose to look darker underneath will ensure it looks more realistic.
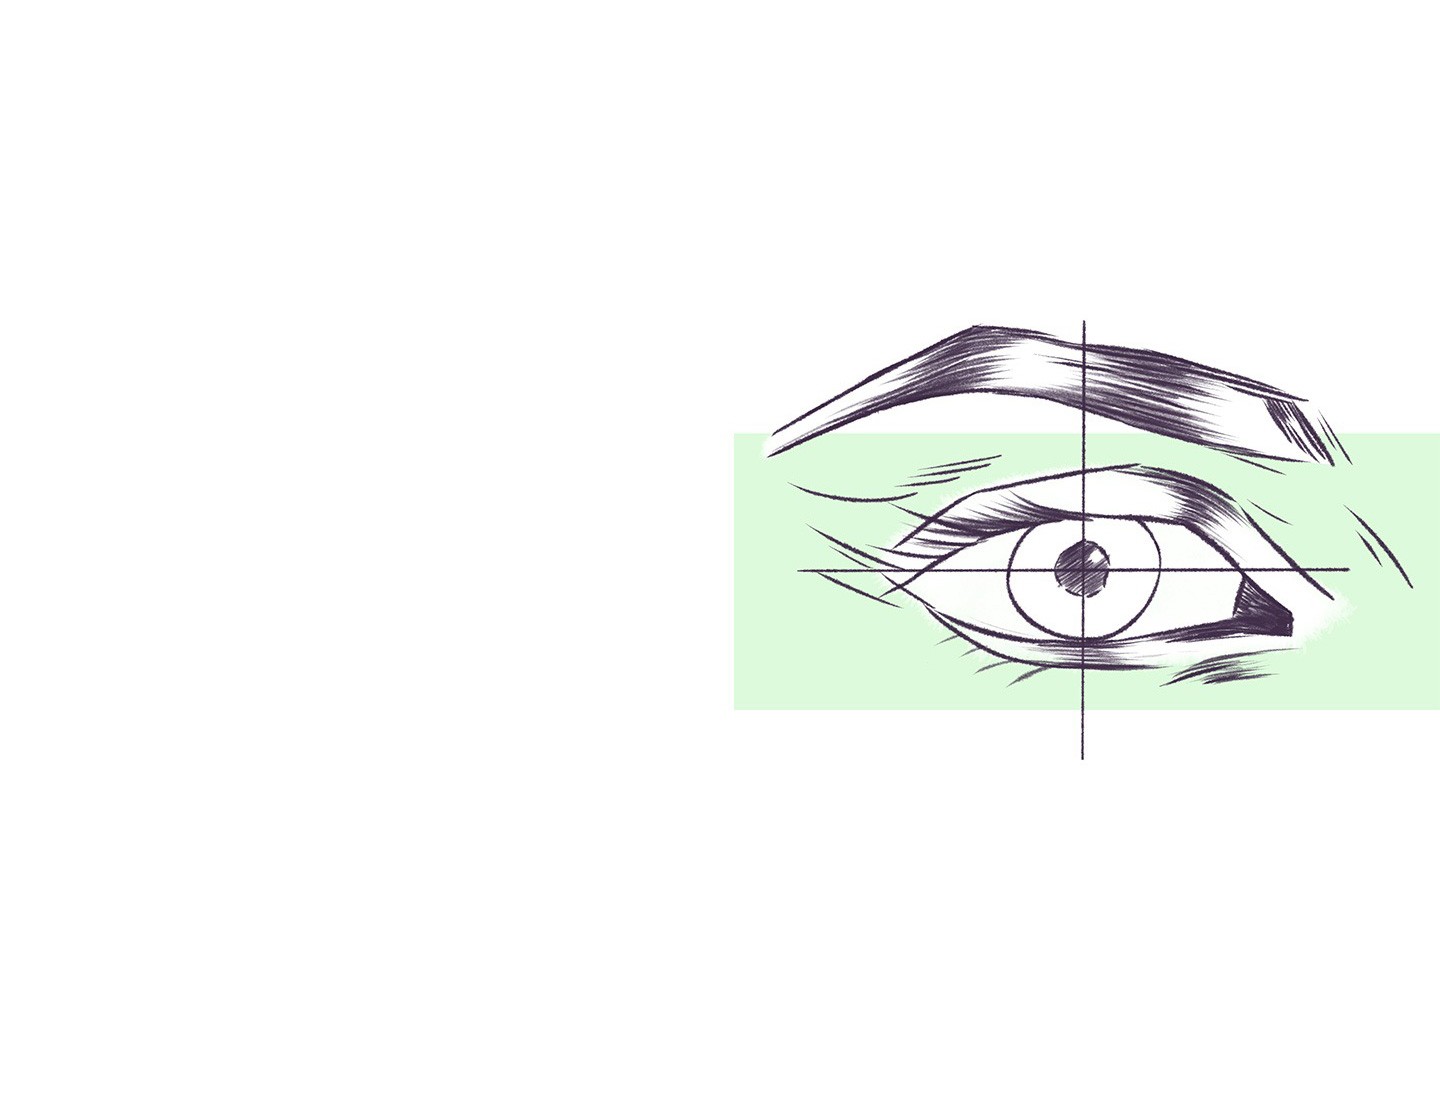
Working out how to draw eyes can seem daunting, especially as they are by far the most detailed part of the face. It’s best to start with a simple ellipsis that reflects the overall shape of the eye. You can try this freehand or, if you’re keen to be accurate, use a grid to make sure you’ve got the size and shape right.
If you’re drawing someone face on, remember that both the iris and pupil are perfect circles. This is vital if you’re aiming for a photorealistic finish or want to convey lifelike vision.
Having a basic grasp of shading is important, too. Pupils should be as dark as possible, while the iris should be patterned to reflect how detailed it is in real life. Using empty space to show off a light source reflecting on the eye will give your drawings a more professional edge. By shading the area above the eye, you’ll also create a neat shadow effect.
Drawing cheeks might seem as simple as adding two curves to either side of a portrait. However, there is a huge amount of nuance required to ensure cheeks look realistic.
A simple way to get cheeks right is to start with two overlapping circles drawn on top of each other, with a cross drawn from the highest and widest points. The two areas of the lower circle beneath the cross now represent cheekbones, giving you an area to work with once you’ve tacked the nose and eyes.
Knowing how to shade this area is key. The best way to understand how to get the lighting of a cheek right is to consider a sphere. The area to the top is lightest, passing through middle tones to dark at the bottom. One side sits in dark shadow, the other in lighter grey. The latter depends on which way the subject is facing and where the light source is coming from.
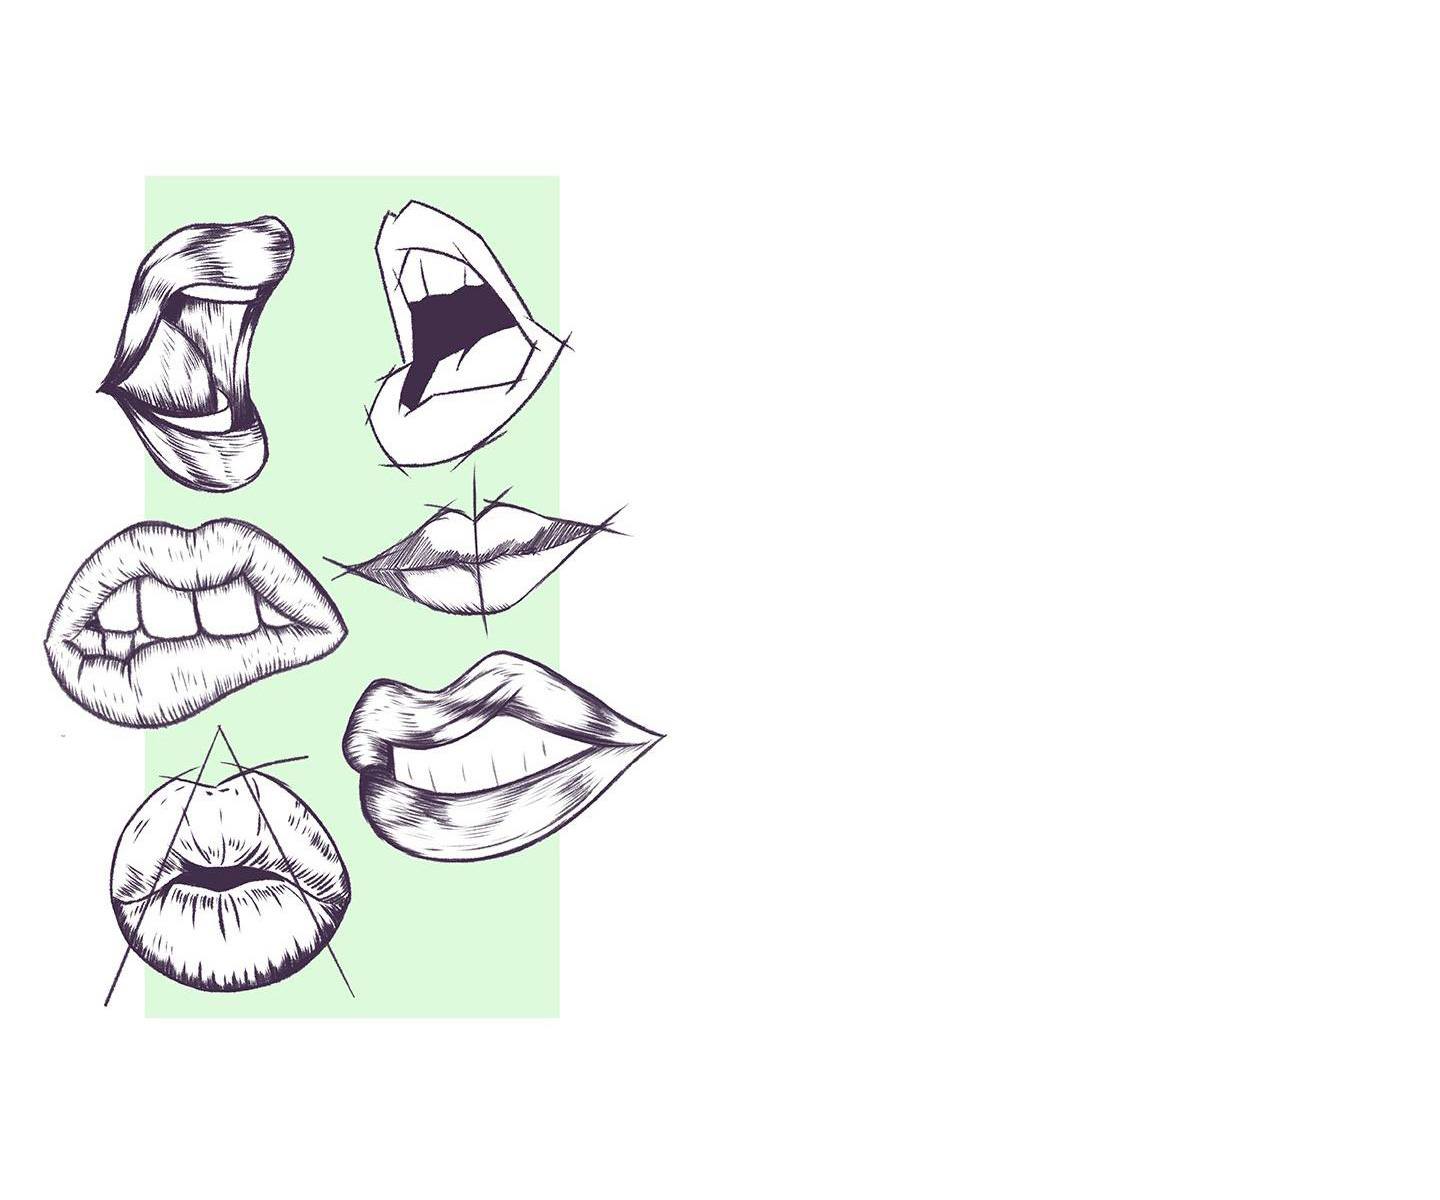
Working out how to draw a mouth varies depending on whether the subject has theirs open or closed. Open mouths with teeth showing are a lot harder to capture than those which are closed.
To capture the basic outline of a pair of lips, draw a horizontal axis and then a triangle across the middle. This will give you space to draw a curve above the line within the triangle to represent the drop in the middle of the upper lip. The area below the line should be used for the fuller, lower lip. Remember that the upper lip tends to be darker and should be shaded accordingly. It’s also important to keep in mind that lips do not appear well–defined unless the subject is wearing makeup.
Teeth can be difficult to capture. Remember that there shouldn’t be a hard line between each one. Instead use shading and light lines so they don’t appear wholly separate from each other. Teeth towards the back of the mouth should be shaded darker, with a grid used to ensure they each tooth sits in proportion to the other and the perspective doesn’t become warped.
Eyebrows can easily be an afterthought, but getting them right is essential if you want to learn how to draw a portrait properly.
Rather than drawing in the hair immediately, eyebrows should be drawn in as a simple shape from the top of the brow bone. Shading is key here, as is using a softer pencil that will allow you to accentuate darker tones and draw in hairs to give the face a more detailed feel. This should be done using thin strokes, with hair becoming thicker and more tapered towards the far end of the eyebrow.
Add thickness to give a face a more defined and rugged look or opt for a thinner eyebrow if you’re aiming for a more feminine style.
Getting the hairline right is a vital aspect of how to draw a head and face. In fact, this should be defined early on, well before you start adding hair to your portrait. Knowing where the hairline is will allow you to get the proportions of a face correct, ensuring the forehead is the right size and that features like the eyes and nose don’t appear too high.
Block out an area across the top of the head, known as the hair zone. A straight hairline will appear as a curve across the forehead, while a widow’s peak will have a point at the middle of the forehead. A receding hairline appears further back on the head.
Mark this in using light strokes, so when it comes to drawing hair you can erase the line as you begin adding in a style. The lines should act as a reference point for where hair starts and how it falls across the face of your subject.
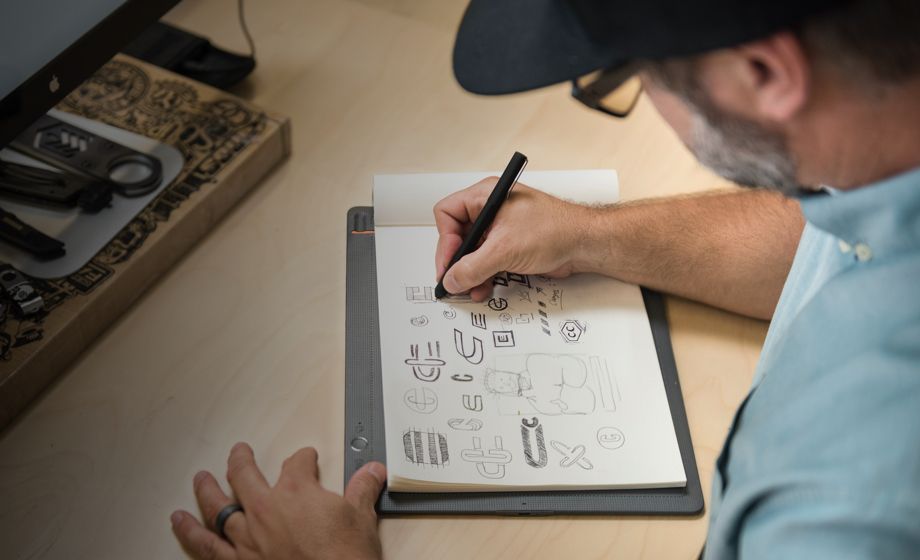
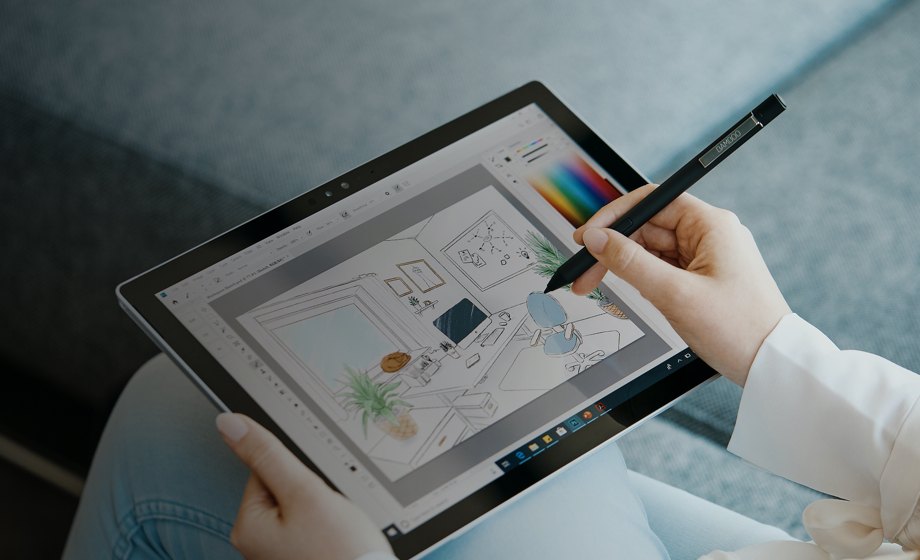
Wacom One is ideal for bringing facial features to life. The natural surface friction and minimal reflection creates a pen-on-paper feeling on the 13.3” screen. The pen feels light and natural in your hand and transforms into a pencil, paintbrush or chalk in your selected software. It can even be used as an eraser. Perfect for refining the details to create lifelike faces. Creative software comes included, along with the ability to connect to your Mac or PC, as well as certain Android devices.
Recommended product

Wacom One 13 pen display
Draw, design and create directly on a high resolution screen with a precise pen.

Sketch, draw and edit images with a responsive pad, a precise pen and see your creations appear on screen.

Draw, design and create directly on a high resolution screen with a precise pen.
Wacom’s vision is to bring people and technology closer together through natural interface technologies. This has made it the world’s leading manufacturer of interactive pen tablets and displays as well as of digital styli and solutions for saving and processing digital signatures. The advanced technology of Wacom’s intuitive input devices has been used to create some of the most exciting digital art, films, special effects, fashion and designs around the world and provides business and home users with their leading interface technology to express their personality. Founded in 1983, Wacom is a global company based in Japan (Tokyo Stock Exchange 6727) with subsidiaries and affiliate offices around the world to support marketing and distribution in over 150 countries.